4 ways to determine stitch gauge
3 min
Jun 2, 2025
Most knitters know how important it is to know your gauge when knitting. Without it, you really don’t know how big your piece is going to be. But we also know that many knitters hate knitting test swatches. The good news is that there are other ways to determine your knitting gauge.
Here are four methods we recommend and only one of them involves knitting a swatch.
1. Look at the yarn package

It seems too easy right? Sometimes it is that easy. It’s not always going to be super accurate, though. For that reason, we don’t recommend this method for larger, more time consuming projects.
But, if you’re knitting up a quick beanie, or perhaps some baby clothes and you can deal with a certain margin of error or not be too disappointed if you have to frog it and start over, it’s a perfectly acceptable method.
Keep in mind: If you’re a very loose or tight knitter, this method might not work for you.
2.Knit a small garment

I personally love this method, because it provides a really accurate idea of your gauge and you get more knitwear out of it too!
If you are planning a larger project, for example an adult’s sweater, you could first make yourself a hat to match. Both are knit in the round, so you’ll get a very accurate representation of your gauge for the project. Much more accurate than knitting a test swatch, I might add.
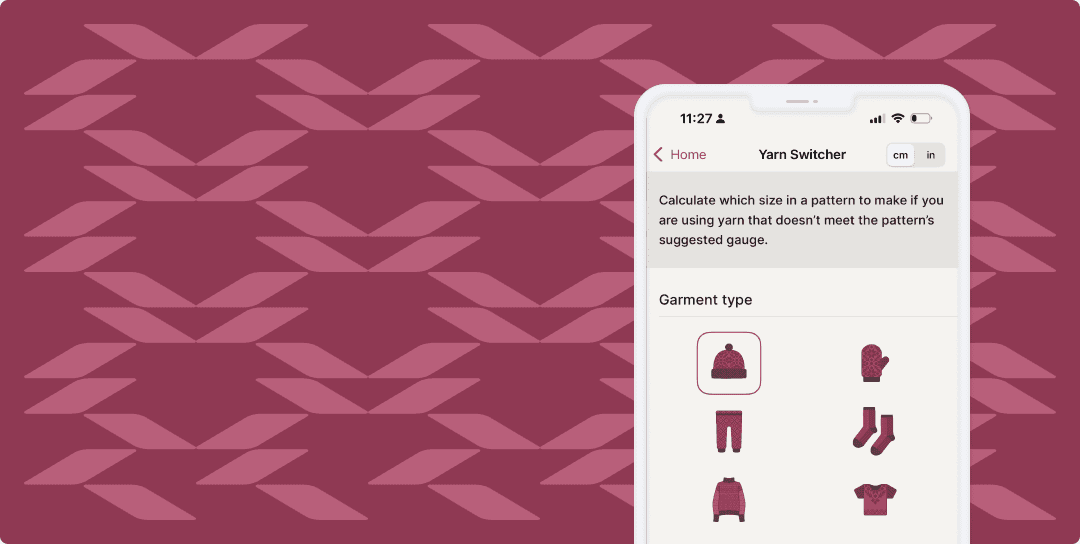
To have something to start with you could use the method of looking at the yarn package (or making a quick swatch) to cast on your smaller garment. If the end gauge is off slightly from meeting the pattern gauge, you can either size up or down in needle size, or skip that step entirely and calculate the correct size in the pattern to make using the yarn switcher in our app, or just calculate it yourself.
Here’s an example of how this can work
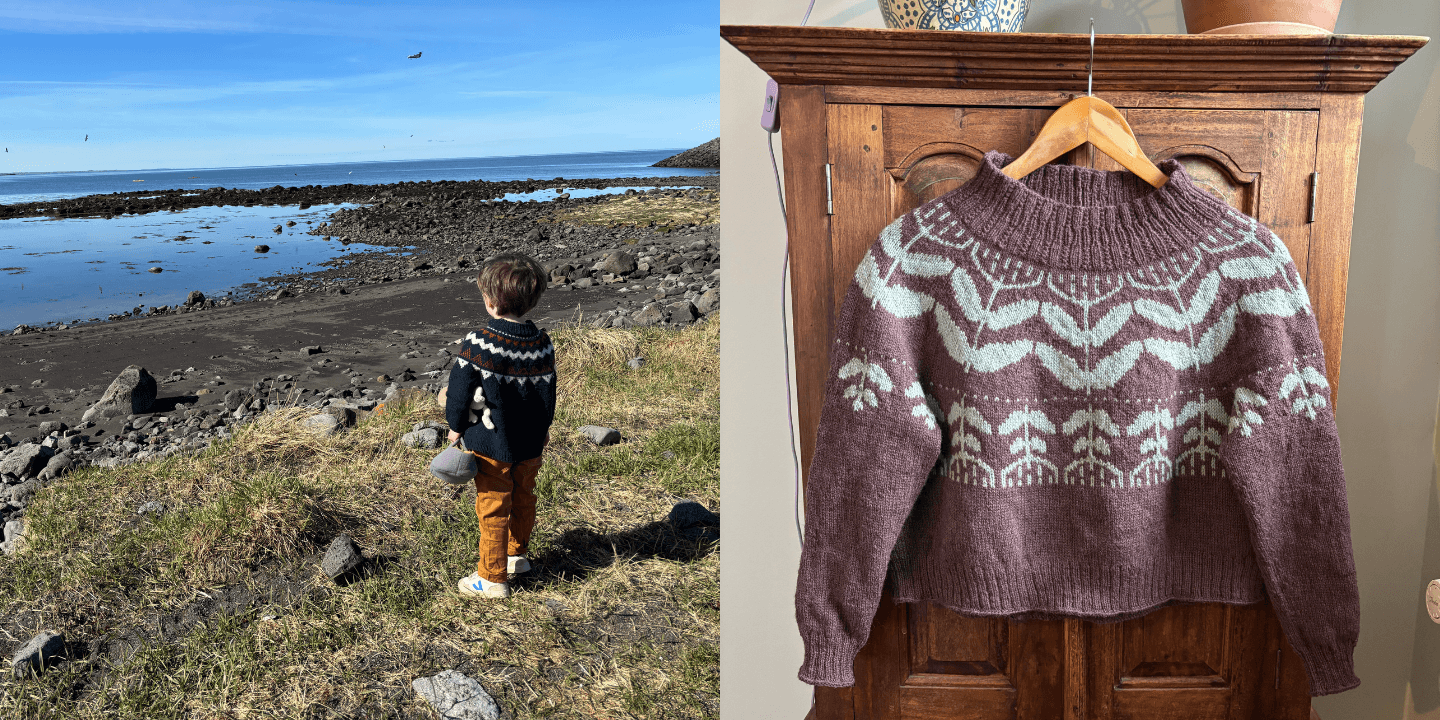
I recently knit my son a small sweater based on a very small (and probably not very accurate) swatch. I didn’t mind if the size was off slightly, because I was making it too big for him, so he could grow into it and use it longer. Once I finished and blocked it, I measured it and used that information to knit myself a sweater with the same yarn and needle size.
Both of these projects used stranded color work on the yoke and a single color on the body and sleeves. So I got a really accurate gauge for both parts and we both got really nice new sweaters just in time for the chilly Icelandic spring!
3. Measure something you’ve already made
I realize this is almost the same as the previous method, but it’s worth a mention.
We all have our favorite yarns. And if we’ve used them before, we know exactly how they look, feel, and drape. If you are anything like me, you might think about the yarns you’ve used in the past when planning your next project.
When using yarn you’ve already knitted with, you can just go and measure the gauge on your garment. This will be extremely accurate. If it’s been used and worn, it’s already stretched into the size it will be in the future.
To make this even easier, I personally keep a spreadsheet of my gauge from past projects, so I can easily find them later and compare them to the recommended gauge in a pattern when trying to decide what yarn to use.
Psst: We’re currently building a yarn library into our app, so you can add the gauge data from the yarns you use into Flík and automatically select them to populate the gauge info when using our calculators. If you’re interested in being part of our test group, send us a line at info@knitflik.com.
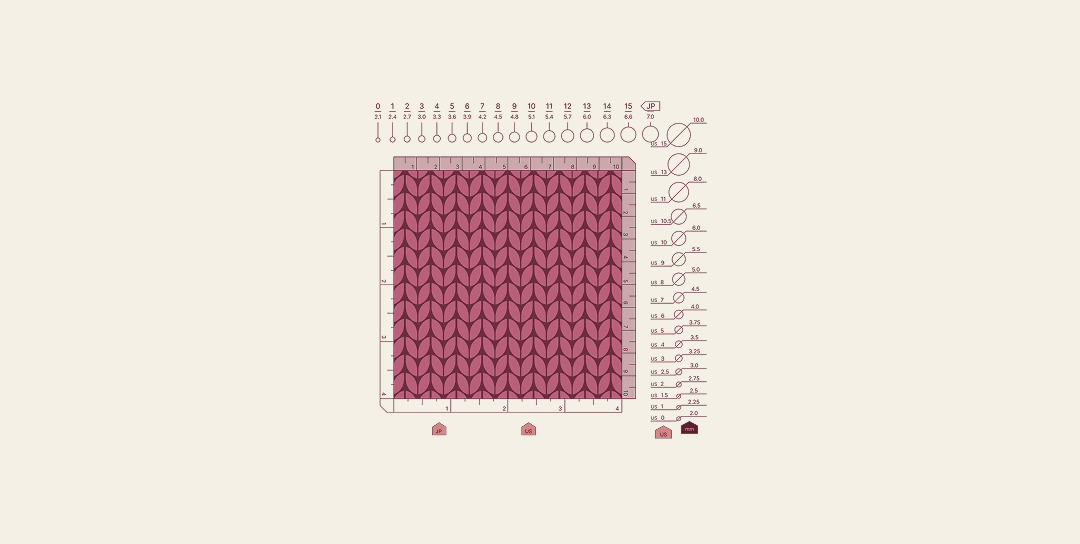
4. Knit a gauge swatch
We know most people hate knitting swatches. And a lot of the time, knitters find them to not be very accurate anyway. But sometimes they’re necessary, at least to get started. When you’re about to start a big project, want to ensure it’s the right size, and you haven’t used the yarn before, you really should make one.
If you’re willing to take the risk of it not fitting, or your gauge is just extremely “normal”, you could just use the exact yarn recommended in the pattern or find a yarn with the exact same gauge written on the package. I would always recommend testing your gauge, though, even if it’s a tiny swatch or just starting the project and measuring it a few rows in.
Pro tip: If you’re knitting in the round, knit the swatch in the round too! The same goes for flat knitting. In other words, knit your gauge in the same method as you’ll knit your project. I’ll admit that I don’t usually take my own advice here, but my gauge tends to be pretty much the same in the round as in flat knitting.
Once you know your gauge, the possibilities are endless.
Despite what people tell you, you don’t need to meet the exact gauge from a pattern. You just need to figure out which size will fit with the gauge that you’re working with. You can also easily cast on simple projects from scratch. And if you’re more advanced, get creative and make whatever inspires you.
Leave the knitting math to us
The Flík knitting calculator app will help you do any of these things. With Flík you can:
Calculate which size to make when swapping out yarn
Calculate cast on stitch amounts for starting a project from scratch.
Increase and decrease evenly across one row.
Keep track of all your projects and calculations in one place.